Sewing has been an essential craft for centuries, yet many of the most effective techniques remain hidden from the modern world. Whether you’re a beginner or an expert seamstress, knowing a few ancient sewing secrets can make your work easier, neater, and more durable. Let’s uncover these time-tested tricks that can change the way you sew forever.
The Lost Art of Traditional Sewing Techniques
Sewing is more than just stitching fabric together—it’s an art form that requires precision and patience. Over generations, tailors and seamstresses have developed techniques to make their work more efficient. Unfortunately, many of these methods have been forgotten in the age of fast fashion. Here are some of the best-kept sewing secrets that will enhance your craftsmanship.
1. Strengthen Your Thread with Beeswax
Have you ever had your thread tangle or break while sewing? That’s because raw thread lacks the strength and smoothness needed for seamless stitching. This is where beeswax comes in—a natural way to fortify your thread.
How to Use Beeswax on Thread:
✔ Take a small piece of beeswax (available at craft stores or from natural sources).
✔ Run your thread through the wax, coating it lightly.
✔ Use a warm iron or your fingers to set the wax into the thread, ensuring smoothness.
By waxing your thread, you prevent knots, reduce fraying, and make hand-stitching smoother. This method has been used by tailors for centuries, and it’s still one of the best ways to extend the life of your stitches.
2. Mark Fabrics with Dry Soap for Easy Removal
Fabric markers and chalk can sometimes leave stains or require special erasers, but there’s an easier solution—dry soap. If you’ve never tried this trick before, you’re missing out on one of the simplest, most effective ways to mark fabric.
Why Use Dry Soap Instead of Chalk?
✔ It glides smoothly on fabric, leaving a visible mark.
✔ It washes away completely without leaving a trace.
✔ It’s eco-friendly and doesn’t create dust like chalk.
Simply take an old, dry bar of white soap, sharpen the edges (like a piece of chalk), and use it to mark where you need to cut or stitch. Once your sewing is complete, the soap will dissolve when the fabric is washed—no mess, no stains!
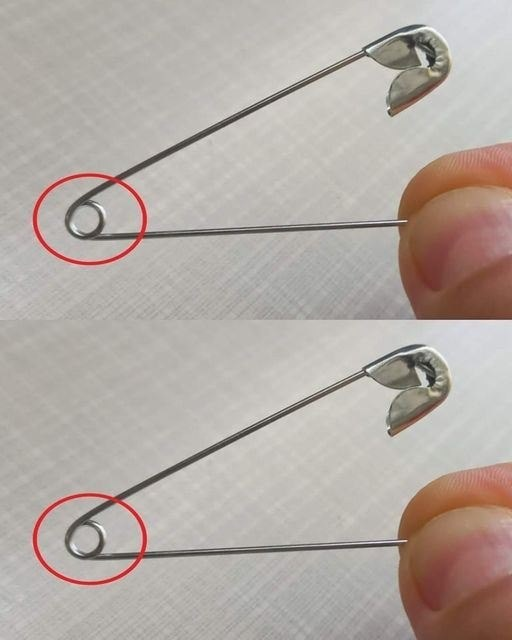
3. The Magic of the Loop Knot Technique
Sick of knots coming undone while sewing? Instead of the usual single or double knots, try the loop knot technique to secure your stitches firmly.
How to Tie a Loop Knot for Sewing:
- Thread your needle and pull the thread through.
- Create a small loop at the end of the thread.
- Pass the needle through the loop and pull tight.
This method keeps your stitches secure without causing bulk or weakening the fabric, making it perfect for delicate materials.
4. Use a Safety Pin to Thread Elastic or Drawstrings
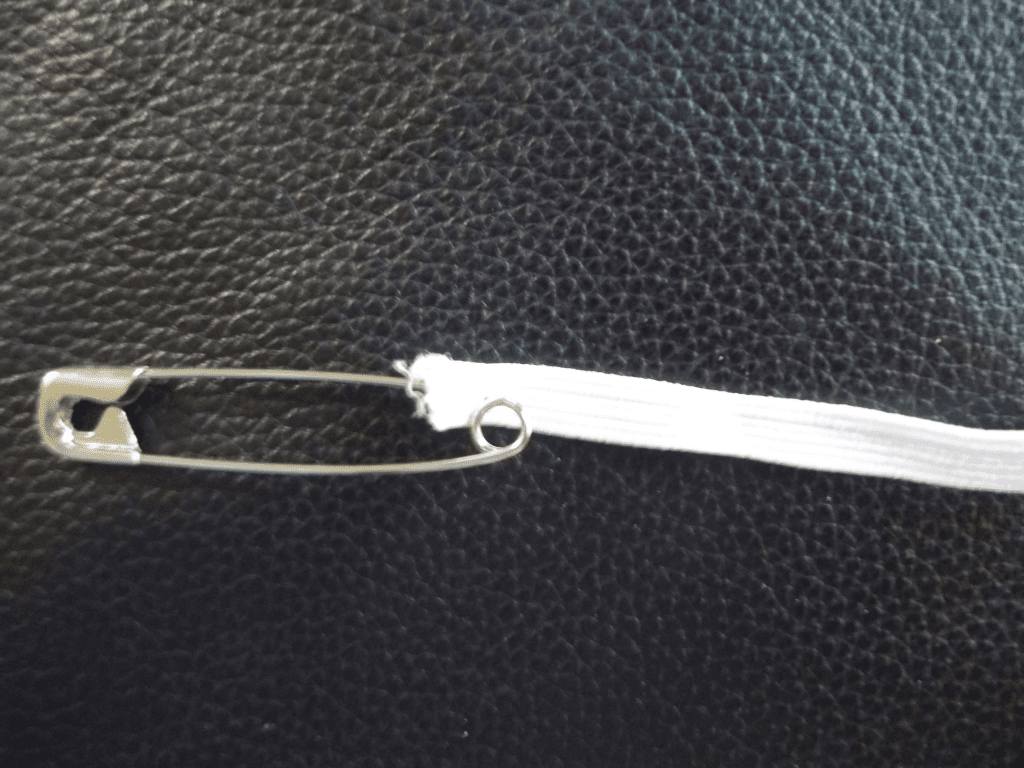
Have you ever struggled to thread elastic through a waistband or a drawstring through a hoodie? Instead of fumbling with your fingers, use a safety pin—a simple yet powerful sewing hack.
How to Thread Elastic with a Safety Pin:
✔ Attach a safety pin to one end of the elastic or string.
✔ Insert the pin into the casing and push it through, guiding it with your fingers.
✔ Once it reaches the other end, pull it out and adjust the elastic.
This old-school trick saves time and frustration, making sewing tasks more manageable.
5. Prevent Frayed Edges with a Simple Hand-Sewn Finish
Fabric edges often fray, leading to unraveling seams and a messy appearance. While overlock machines (sergers) can prevent fraying, they aren’t always accessible. The whipstitch method is a great alternative for hand-sewers.
How to Do a Whipstitch for Fray Prevention:
✔ Thread a needle with strong thread.
✔ Loop the thread around the fabric edge, sewing closely together.
✔ Ensure even spacing for a clean, durable finish.
This technique has been used for centuries, especially in historical garment-making, and remains one of the best ways to keep fabric edges neat and long-lasting.
6. The Basting Stitch: Your Secret to Perfect Seams

Many beginners skip basting stitches because they see them as unnecessary, but professionals know they are a game-changer.
What is a Basting Stitch?
A long, temporary stitch that holds fabric layers together before final sewing. It helps ensure alignment and precision before committing to permanent stitching.
✔ Use long, loose stitches with a contrasting thread.
✔ Check the fit or design before securing the final seam.
✔ Once satisfied, sew the permanent stitches and remove the basting thread.
This method prevents mistakes and gives a more polished, professional finish to your sewing projects.
Bringing Back Time-Tested Sewing Techniques
Sewing may seem simple, but these ancient techniques show that a little extra effort can make a big difference. Whether you’re working on a new garment, a repair, or a creative project, these tricks will elevate your skills and make your work more durable and precise.
So, why not give these methods a try? By incorporating beeswax for thread strength, dry soap for marking, loop knots for security, safety pins for threading, whipstitching for fray control, and basting for precision, you’ll be stitching like a pro in no time.
Conclusion: A Stitch in Time Saves Nine
The beauty of sewing lies in mastering the little tricks that make each stitch stronger and each project more seamless. These ancient sewing secrets have stood the test of time for a reason—they work. So next time you pick up a needle and thread, remember that the simplest solutions are often the most effective.
Ready to take your sewing skills to the next level? Try these techniques, and see the difference for yourself!
As colegas de quarto da minha filha tratavam os pertences dela como lixo — eu intervim para trazê-los de volta à Terra

Quando a filha de Sandra, Abigail, liga para ela, ela ouve tudo sobre como a situação de vida de Abby está deixando-a tudo, menos feliz. Então, ela decide entrar no modo mãe e salvar o dia para sua filha e suas amigas.
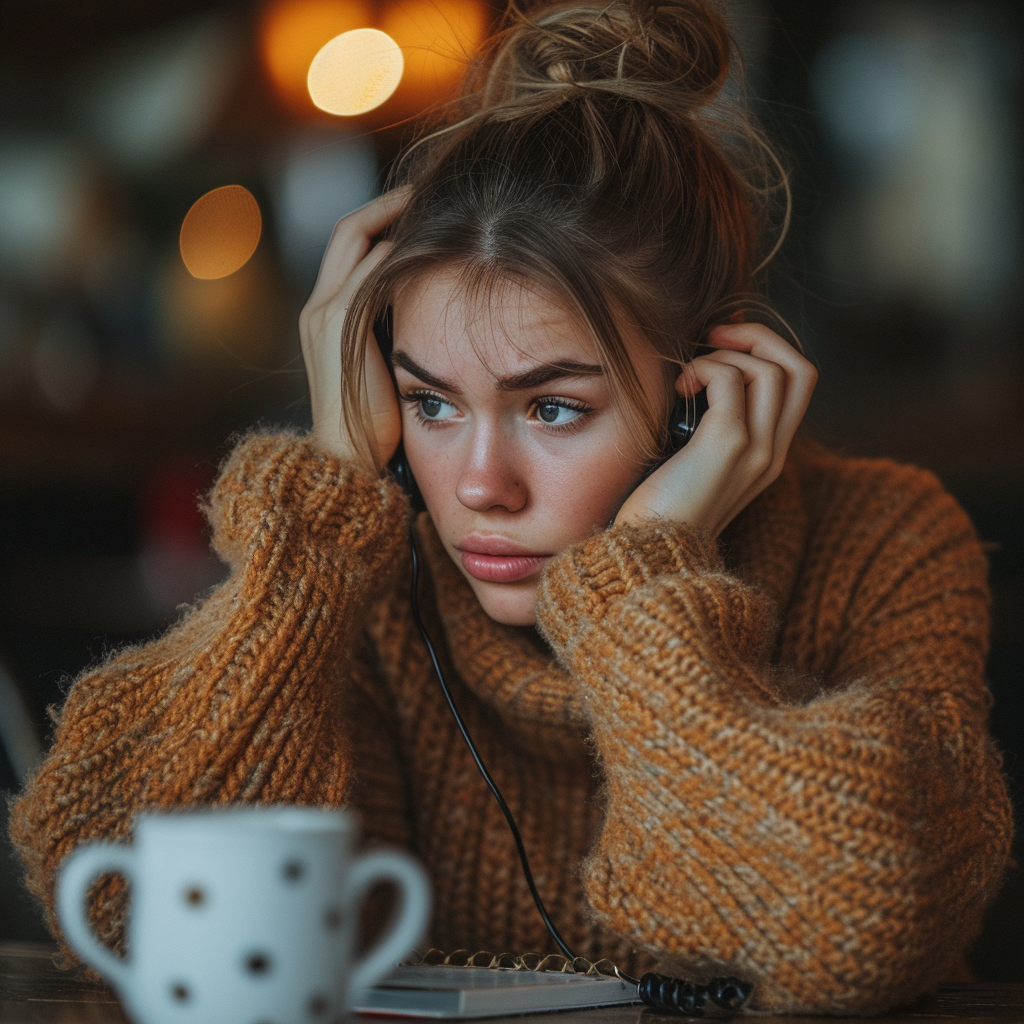
Nunca vou esquecer o dia em que minha filha, Abigail, me ligou. A voz da pobre garota tremia de frustração.

Uma mulher segurando seu telefone | Fonte: Midjourney
“Mãe, é um pesadelo. Tudo isso é só um pesadelo!” ela exclamou.
“O que está acontecendo?”, perguntei, de repente cedendo ao instinto materno. “Conte-me tudo e fale devagar, querida.”

Uma jovem mulher ao telefone | Fonte: Midjourney
“Minhas colegas de quarto!” ela gritou. “Os namorados delas são mais do que ridículos. Você quer saber o que elas fizeram ontem? Os namorados delas pararam minha carga de roupa para lavar, tiraram todas as minhas roupas, jogaram a bagunça molhada no chão e começaram a lavar a própria carga delas!”
“O quê?” exclamei, minha raiva aumentando.
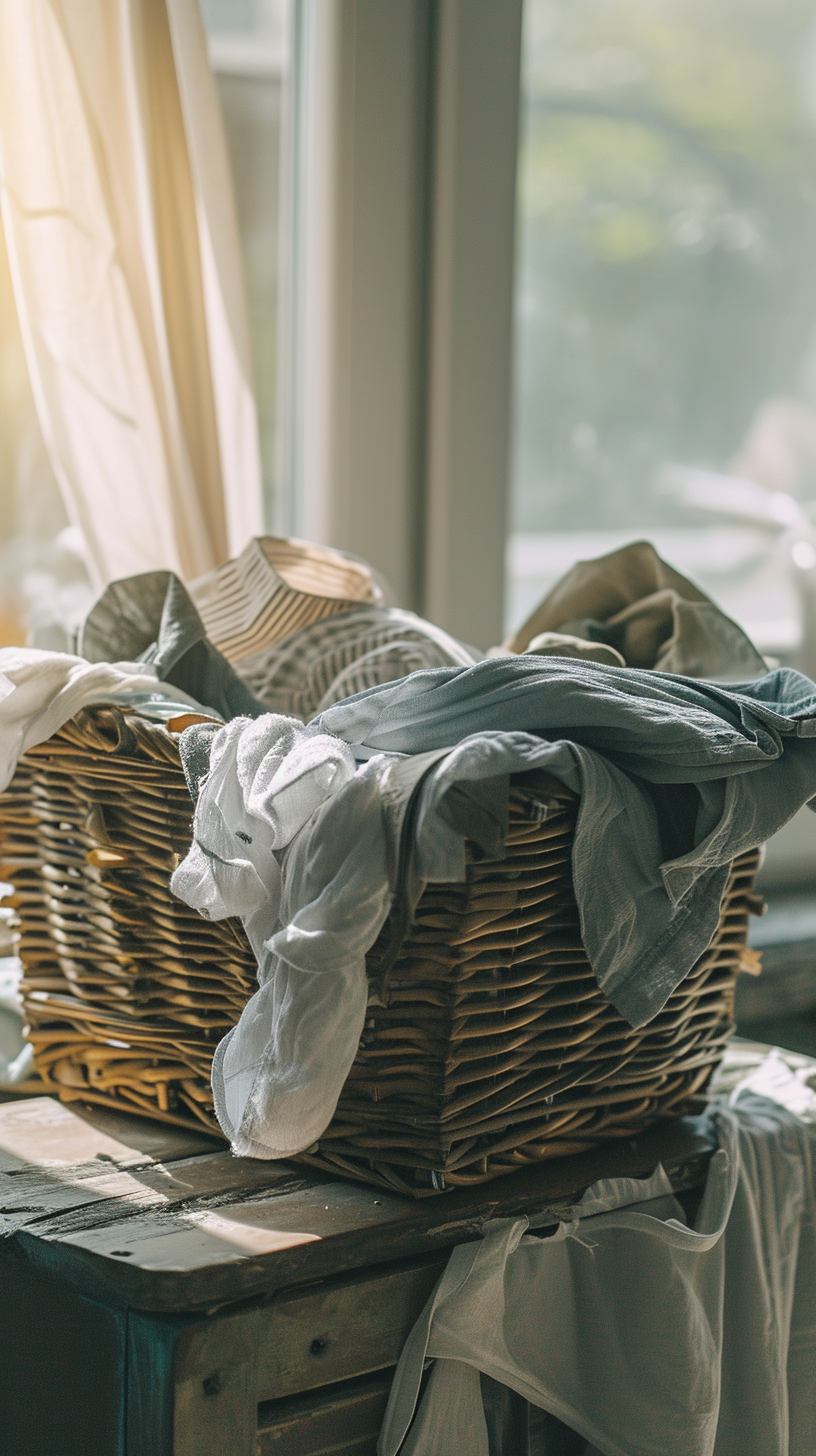
Uma cesta com roupa para lavar | Fonte: Midjourney
“E tem mais, é claro”, ela disse. “Eles comem nossa comida e deixam pratos sujos em todo lugar. E você sabe o quão frio tem estado ultimamente? Bem, adivinha quem tem tomado banho frio! Eles sempre usam toda a água quente. E para piorar, eles pararam de contribuir para o fundo de lanches compartilhados.”
“Oh, querida,” eu disse, tentando acalmá-la. “Sinto muito, mas nós vamos resolver isso.”
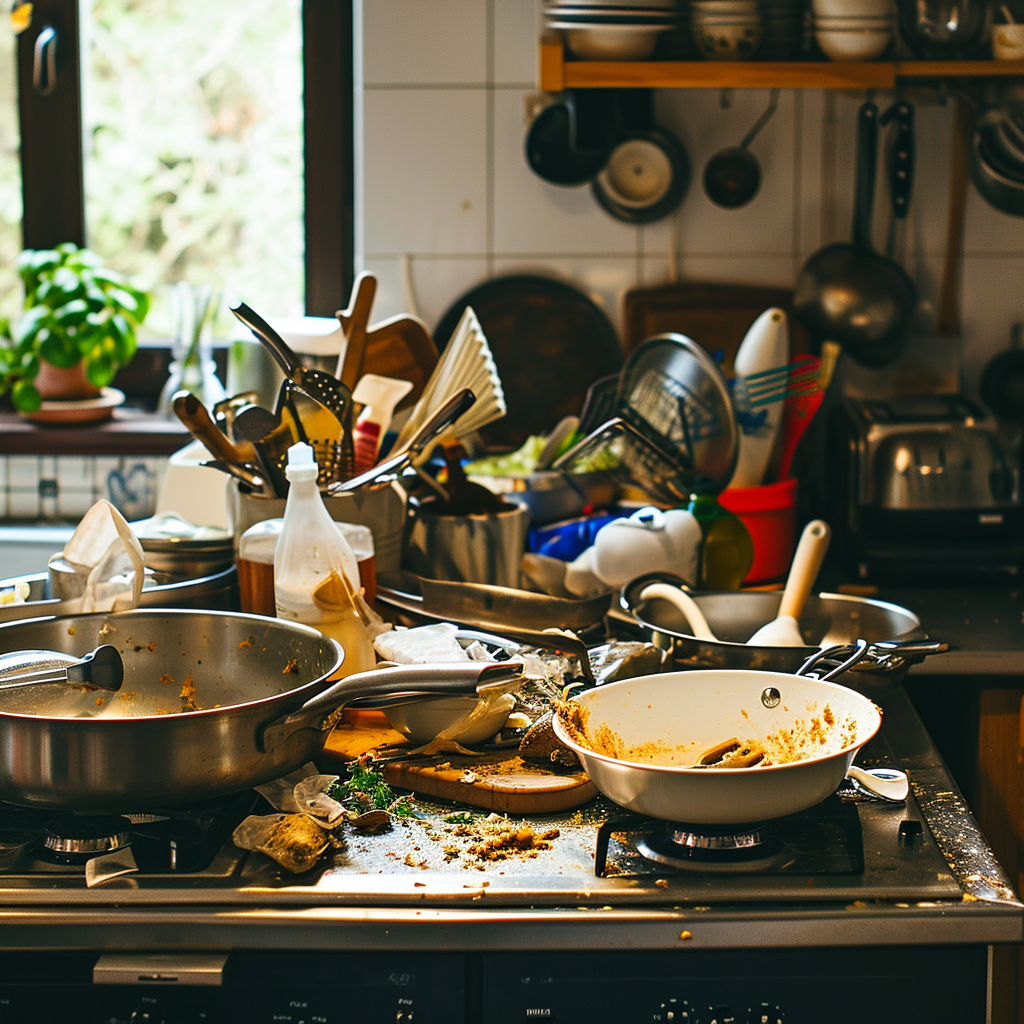
Louça suja | Fonte: Midjourney
Minha filha suspirou profundamente antes de murmurar seu adeus.
Eu sabia que tínhamos que ser inteligentes nessa situação. Havia muitas maneiras pelas quais as colegas de quarto de Abby, Ella e Danielle, poderiam tornar a vida dela ainda pior.

Um grupo de meninas | Fonte: Midjourney
Mas quando descobri que duas das meninas sentiam o mesmo em relação aos namorados, ficou mais fácil lidar com a situação horrível.
“Por favor, Sra. Landon,” Ella disse. “Apenas nos ajude a lidar com isso porque não podemos mais viver.”
Uma jovem chateada | Fonte: Midjourney
Sabendo que três das cinco colegas de quarto estavam na mesma página, eu sabia que só precisávamos lidar com Tess e Rachel, as duas meninas que trouxeram esses meninos para a vida da minha filha.
Confrontar essas meninas provavelmente levaria a mais drama e a um ambiente tóxico para Abby e suas amigas lidarem. Mas tínhamos que tentar. Eu sabia que não havia outra opção.

Uma mulher preocupada | Fonte: Midjourney
Felizmente, o contrato de locação da casa compartilhada de Abby estava chegando ao fim, pois o ano universitário também estava chegando ao fim. Rachel e Tess decidiram que celebrariam o fim indo acampar com seus namorados.
“É isso, mãe”, disse Abby. “Este é o momento em que podemos fazer o que for preciso. Eles vão embora na sexta-feira e só devem voltar no domingo à noite.”
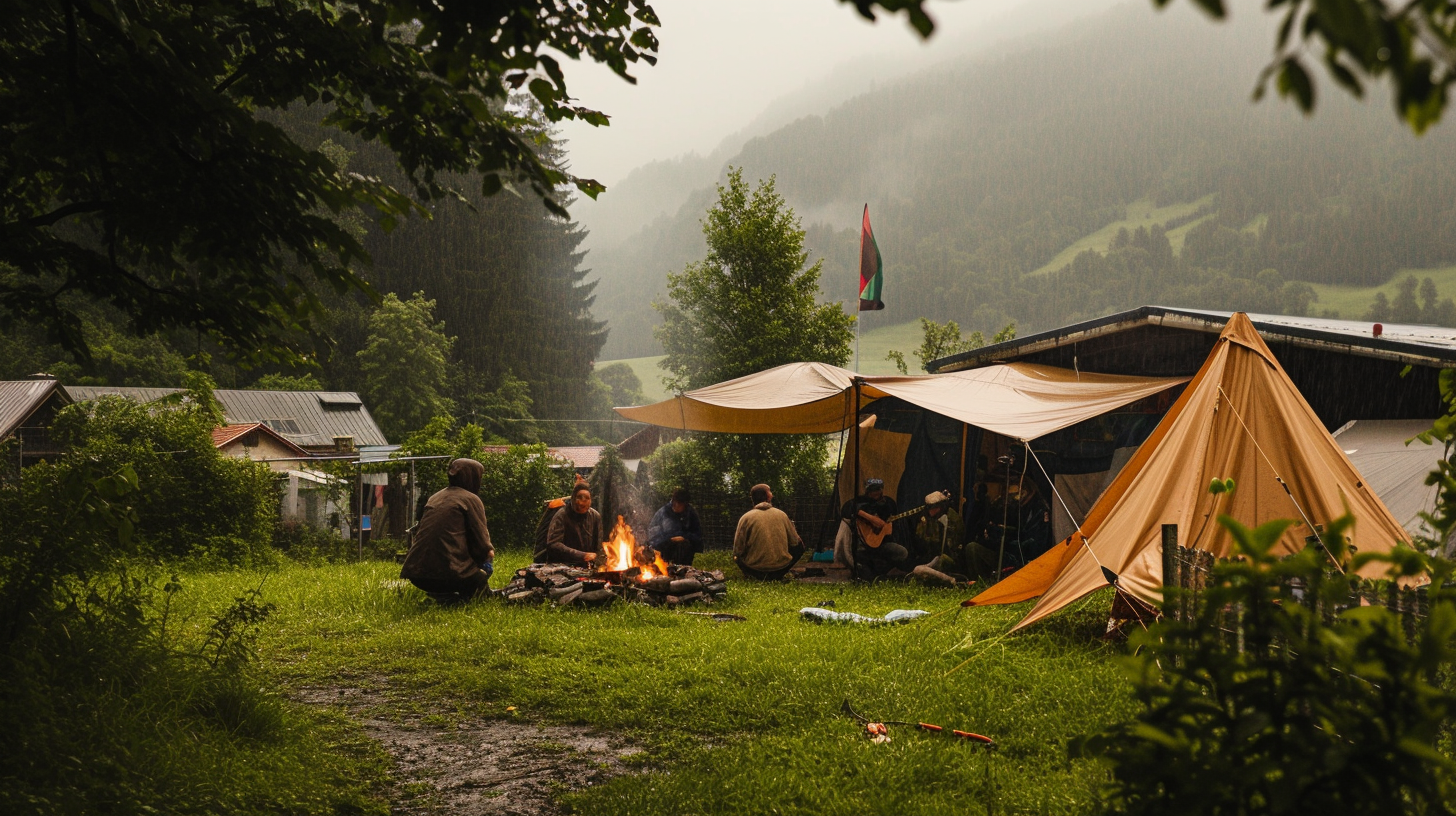
Pessoas em um acampamento | Fonte: Midjourney
Enquanto eles estavam fora, Abby, Danielle, Ella e eu começamos a trabalhar.
“Certo, meninas”, eu disse, quando as conheci em um restaurante no começo da semana. “Vamos dar uma lição em suas colegas de quarto e seus namorados. Vocês não podem esperar viver nessas condições, e eu vou dar um fim nisso.”

O interior de um restaurante | Fonte: Midjourney
“Obrigada, Sra. Landon”, disse Ella. “Quando falei com meus pais sobre a situação, eles apenas me disseram para lidar com isso da melhor maneira que eu pudesse. Isso não ajudou em nada.”
“E meus pais me disseram para não dizer absolutamente nada!” Danielle entrou na conversa. “Eles disseram que melhoraria com o tempo.”
Uma pessoa sentada à mesa | Fonte: Midjourney
“Não, estou aqui agora e estou ouvindo vocês três”, eu disse enquanto nossos milkshakes chegavam. “Nós vamos consertar isso. Eu prometo a vocês.”
Quando os casais estavam fora, nós mudávamos todas as coisas deles para fora. Tudo, desde os móveis da sala de estar, pratos, talheres, utensílios de cozinha, recipientes de plástico, suprimentos de panificação e muito mais.

Caixas de papelão empilhadas | Fonte: Midjourney
“Infelizmente, a cortina do chuveiro pertence a Tess”, disse Abby, enquanto a removia. “Então ela também tem que ir embora.”
“E a vassoura e a pá de lixo mais novas”, Danielle entrou na conversa. “Elas ainda são novas porque Tess mal as usou.”
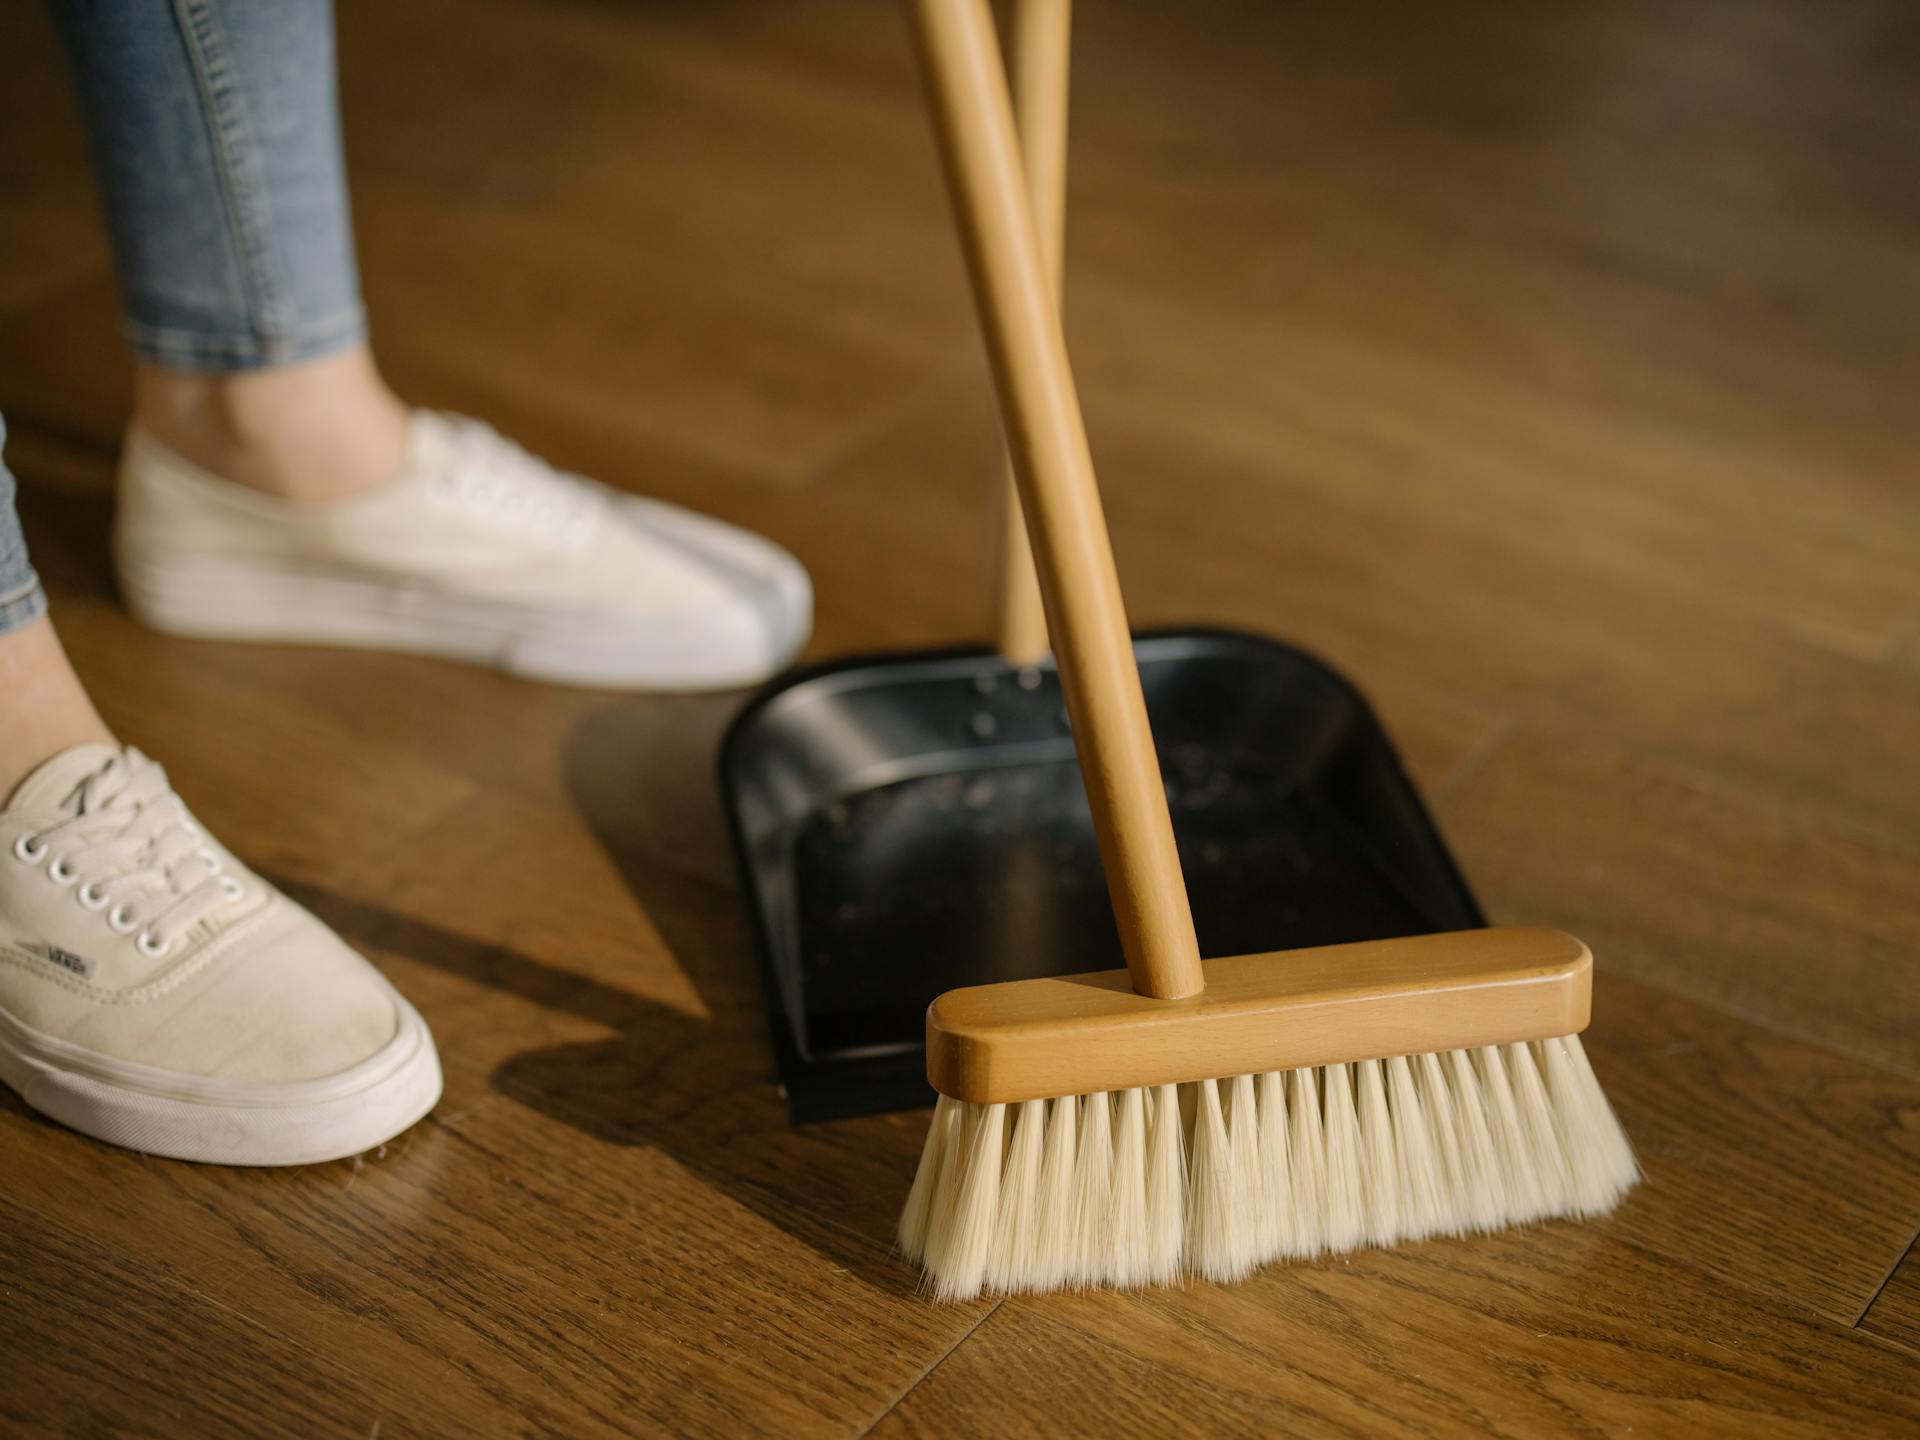
Uma pessoa usando uma vassoura e uma pá de lixo | Fonte: Pexels
“Bom,” eu disse, encorajando o comportamento deles. “O que for preciso ir, jogue em caixas.”
“Mãe, os dois não contribuem para nenhum suprimento doméstico compartilhado há meses”, disse Abby. “Você sabe, todos os detergentes e papel higiênico e tudo mais.”
Então, decidimos que, como Rachel e Tess não tinham contribuído, elas não tinham absolutamente nenhum direito aos suprimentos.
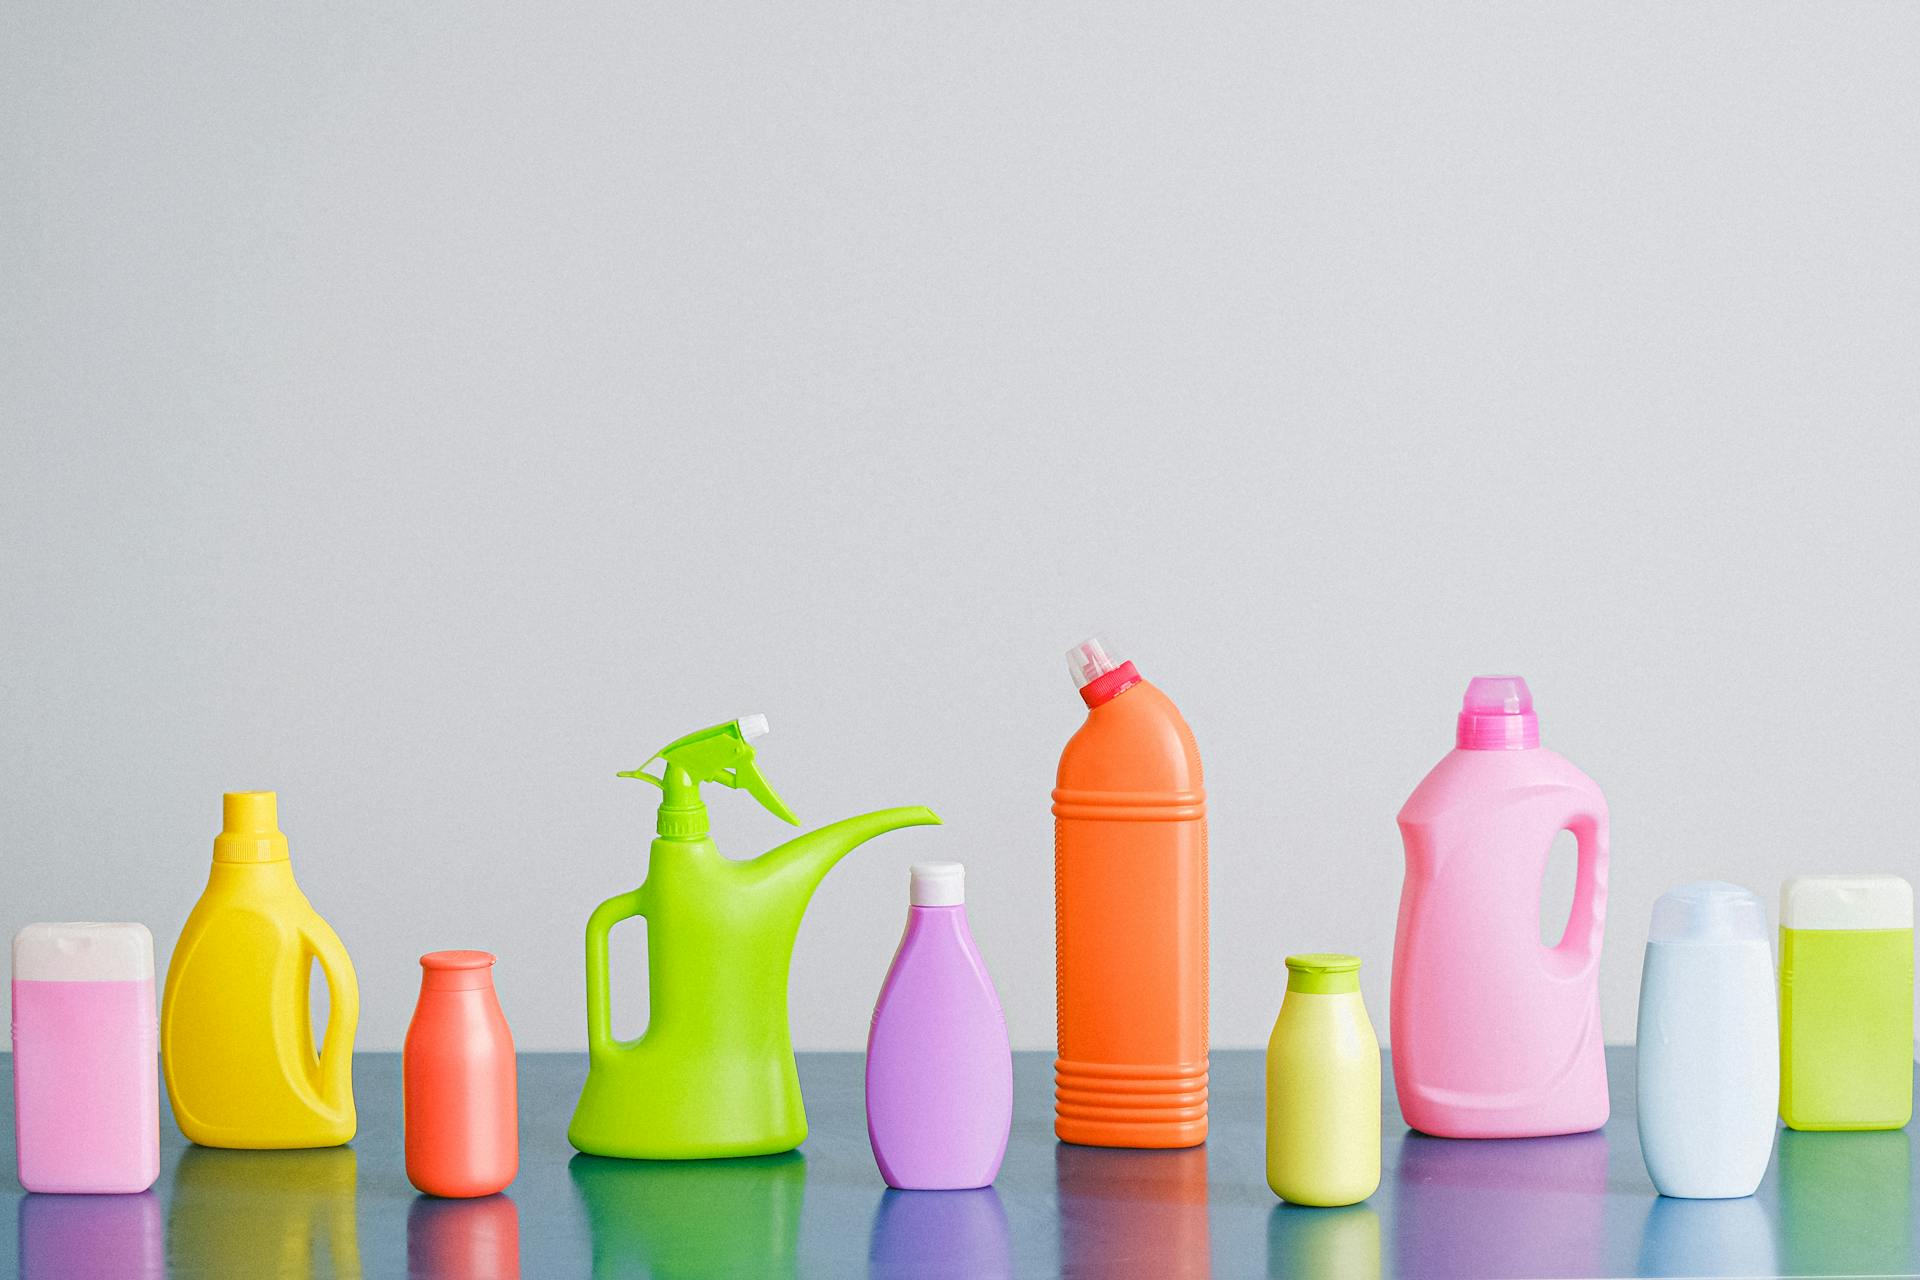
Detergentes em uma mesa | Fonte: Pexels
“Eu tenho um armário na garagem que tranca”, eu disse. “Ele pode funcionar bem em um banheiro ou até mesmo em uma copa. Vou trazê-lo e vamos usá-lo, ok?”
Voltei para casa e troquei de carro com meu marido, pegando a van para poder levar o armário de volta para as meninas.

Um close-up de um caminhão | Midjourney
Também embalamos todo o papel higiênico, toalhas de papel, detergentes para louça e sabão em pó.
“Quando você precisar dessas coisas,” eu disse, guardando o sabão em pó. “Você pode destrancá-lo e usá-lo no seu tempo.”
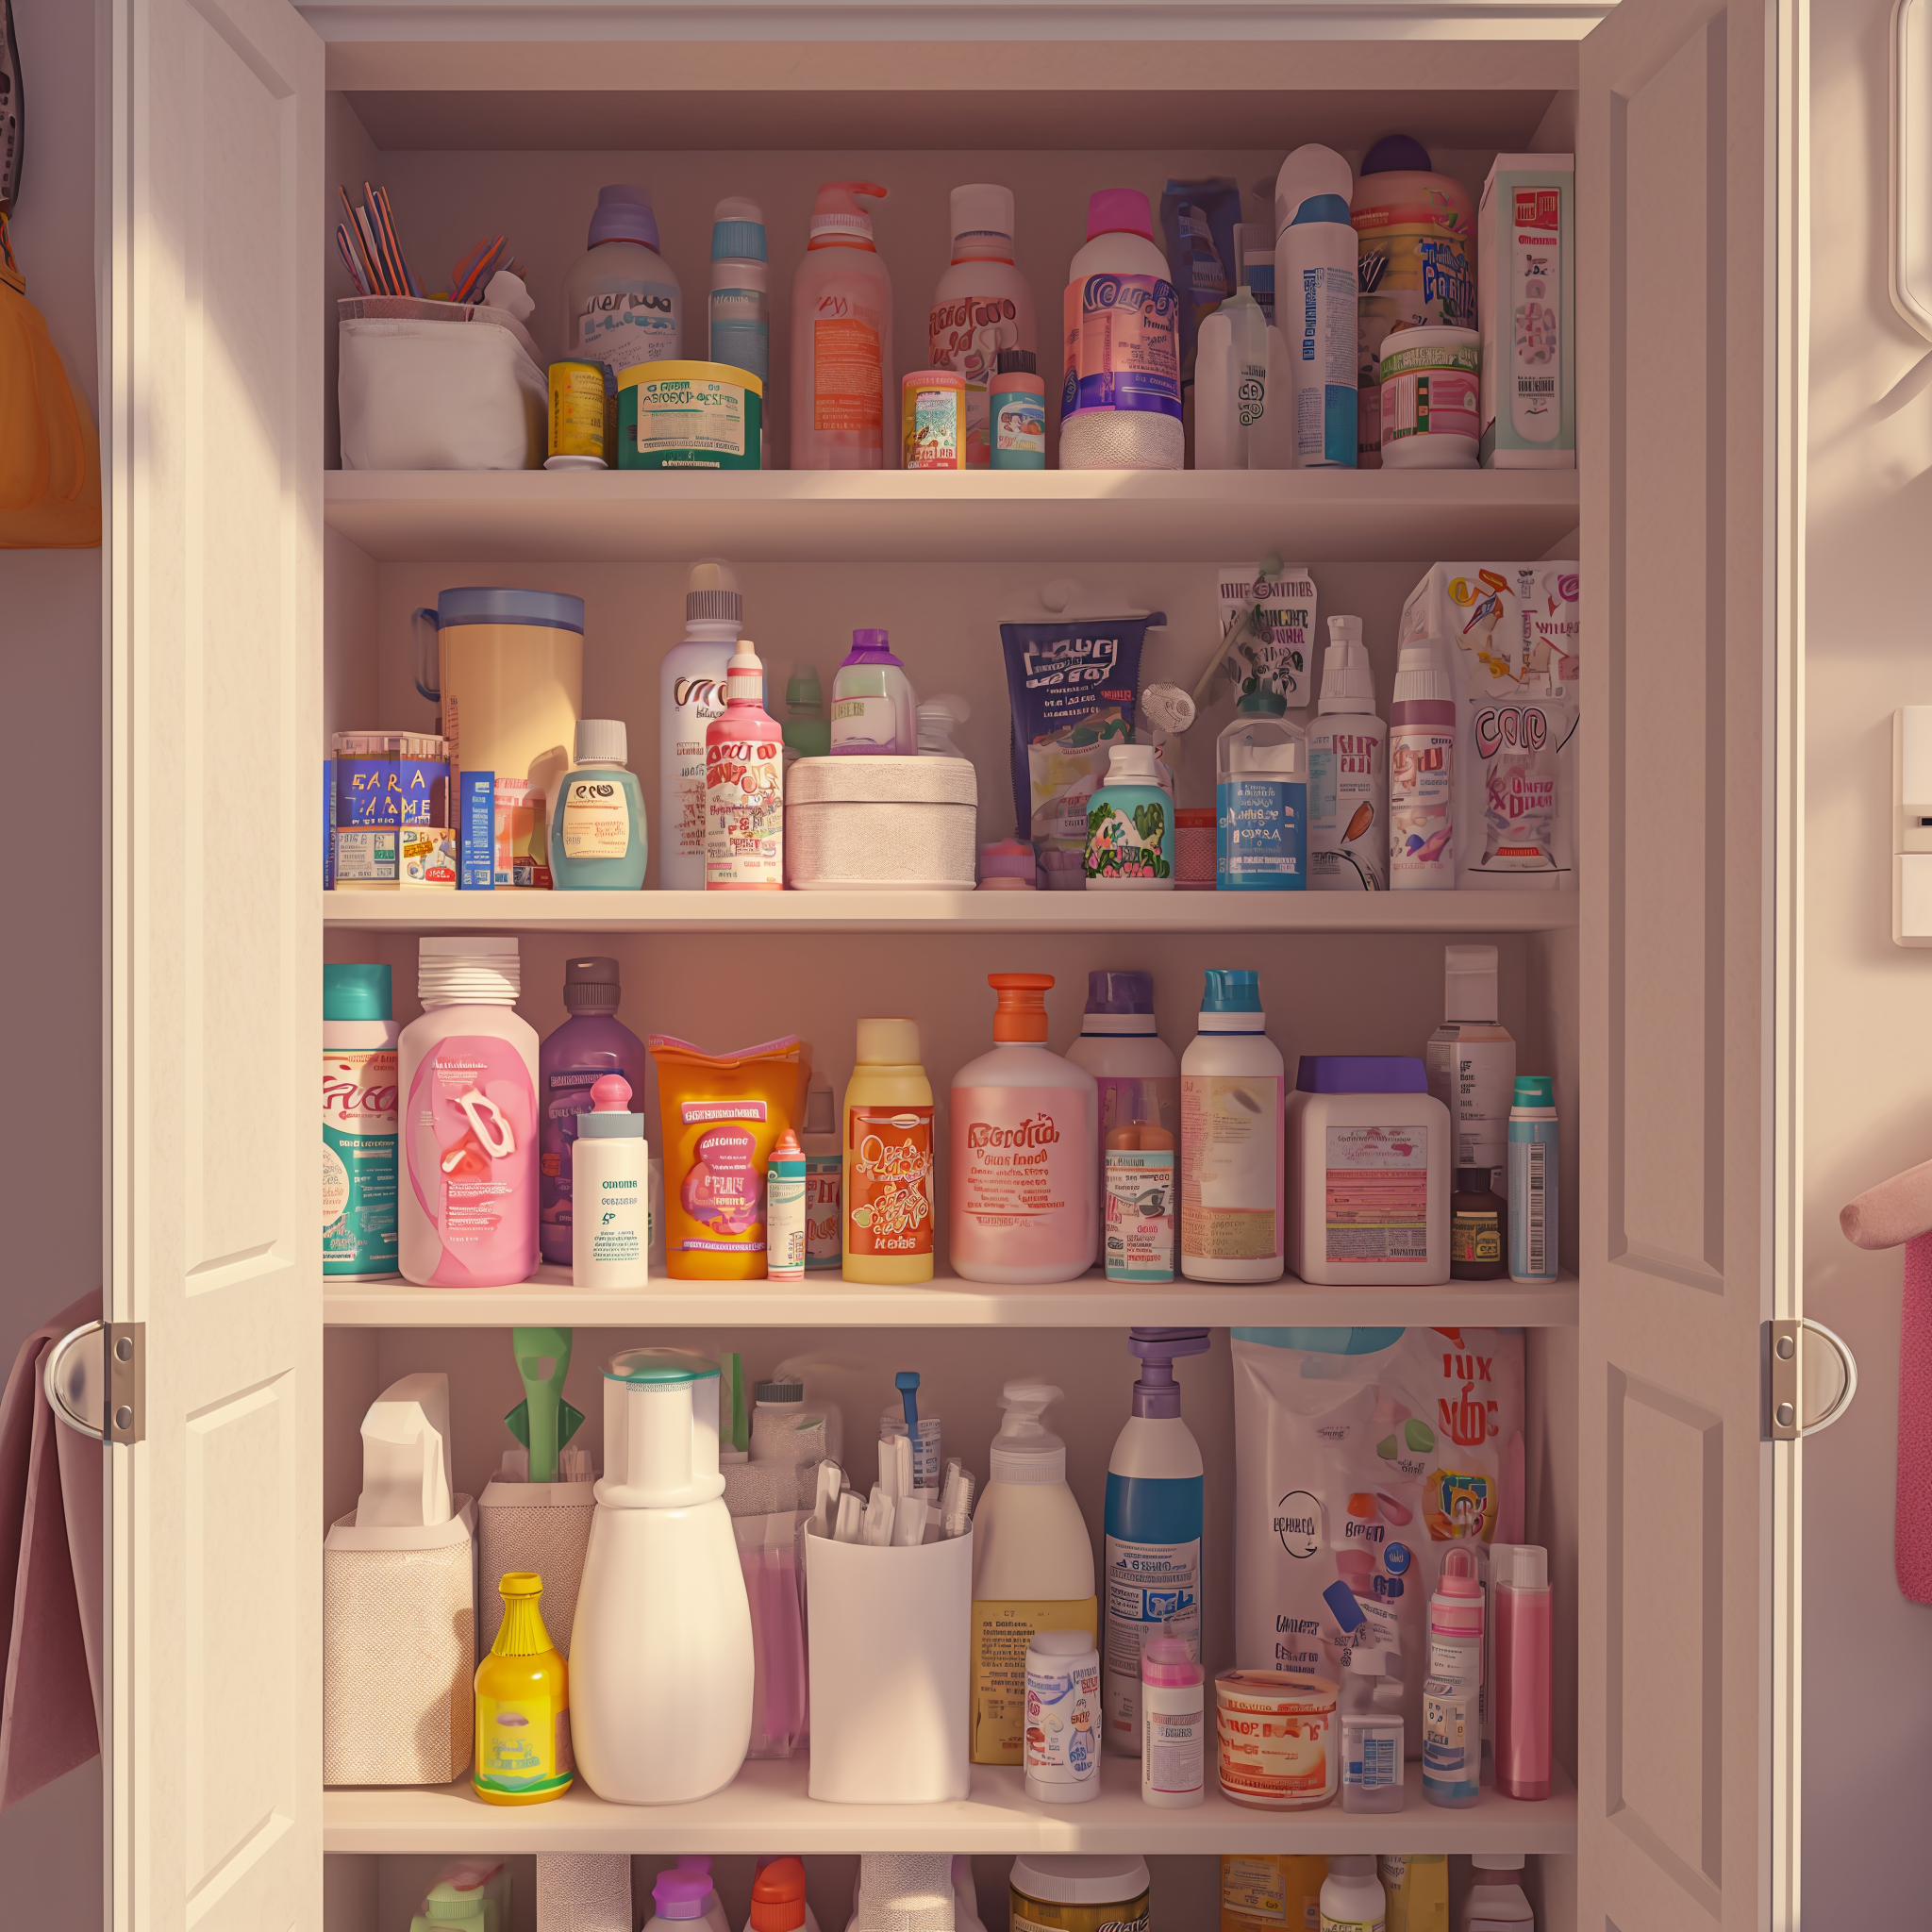
Um armário com detergentes e produtos de higiene pessoal | Fonte: Midjourney
Abby me disse que quando os casais retornaram, eles ficaram extremamente chocados.
“Você deveria ter visto a cara deles”, ela exclamou alegremente.
Acontece que quando eles viram tudo acabado, eles estavam perdendo a cabeça. E para piorar ainda mais as coisas (ou melhorar para nós), Rachel, Tess e seus namorados tiveram intoxicação alimentar na viagem e estavam se sentindo particularmente miseráveis.

Uma jovem mulher nada impressionada | Fonte: Midjourney
“Vou encaminhar todas as mensagens de texto deles para você, mãe”, disse Abby, rindo do outro lado da linha.
Momentos depois, meu telefone vibrou com mensagens mordazes.

Um close-up de um telefone | Fonte: Midjourney
Como você pôde fazer isso conosco? Nós voltamos de uma viagem, doentes e exaustos, apenas para descobrir que tudo se foi?
Onde estão nossos pertences?
Você colocou seus pertences no quintal?! Como pôde?
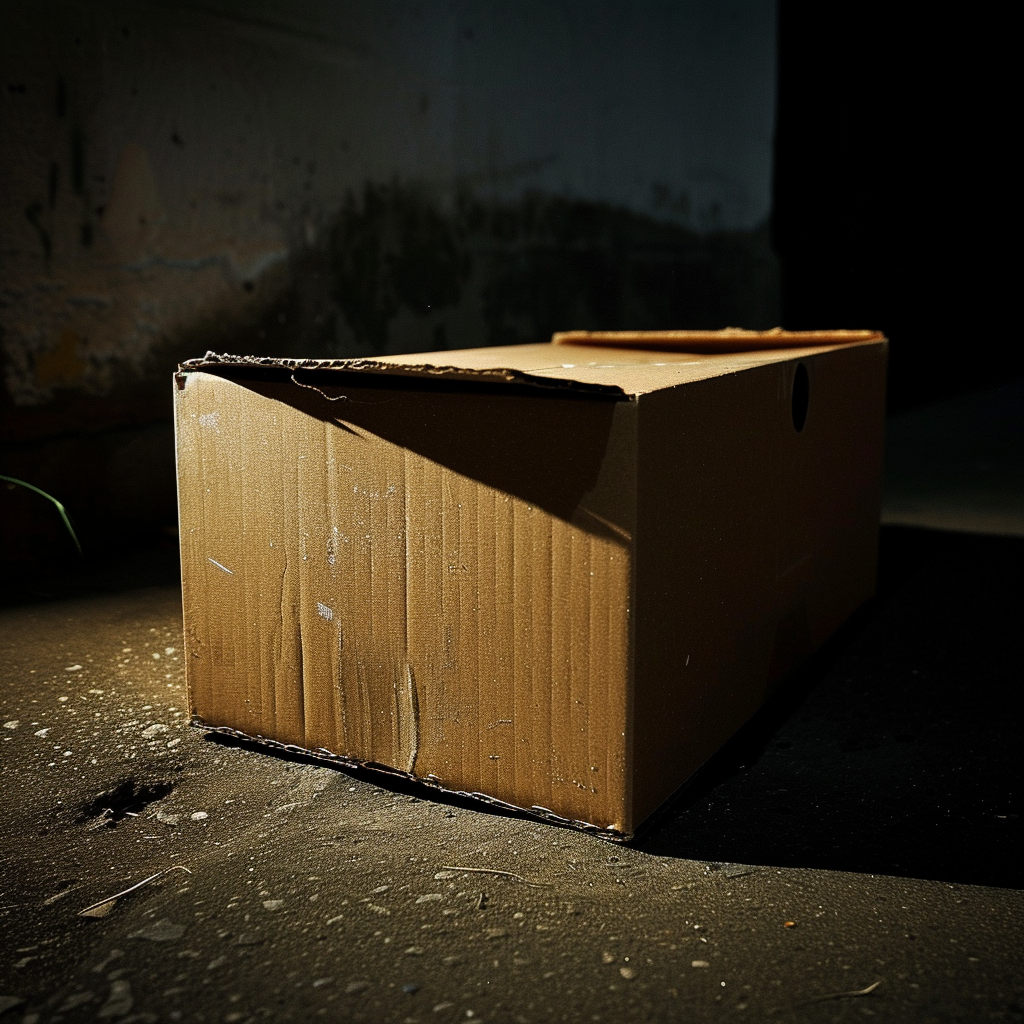
Uma caixa do lado de fora | Fonte: Midjourney
E vocês também levaram todos os itens domésticos compartilhados! O papel higiênico?! Estamos com intoxicação alimentar!
Eu ri sozinho enquanto minha filha me encaminhava essas mensagens.
A raiva e a confusão deles eram palpáveis por meio de suas mensagens. E eles exigiam saber por que não tinham sido avisados.

Uma mulher mais velha rindo | Fonte: Midjourney
Minha filha, agora calma e serena porque estava no controle da situação, respondeu calmamente:
Você estava acampando. Provavelmente você só não tinha sinal para receber nossas mensagens. Desculpe, não desculpe.
Nos dias que se seguiram, Tess e Rachel pareceram perceber a gravidade da situação. Sem Abigail, Ella e Danielle, elas realmente não tinham nada em casa.

Uma garota mandando mensagem | Fonte: Midjourney
Cada item que eles pegaram era essencial para seu estilo de vida diário.
Por fim, os aproveitadores não tiveram outra escolha a não ser fazer as malas com seus pertences mínimos e ir embora ainda mais cedo do que o planejado.
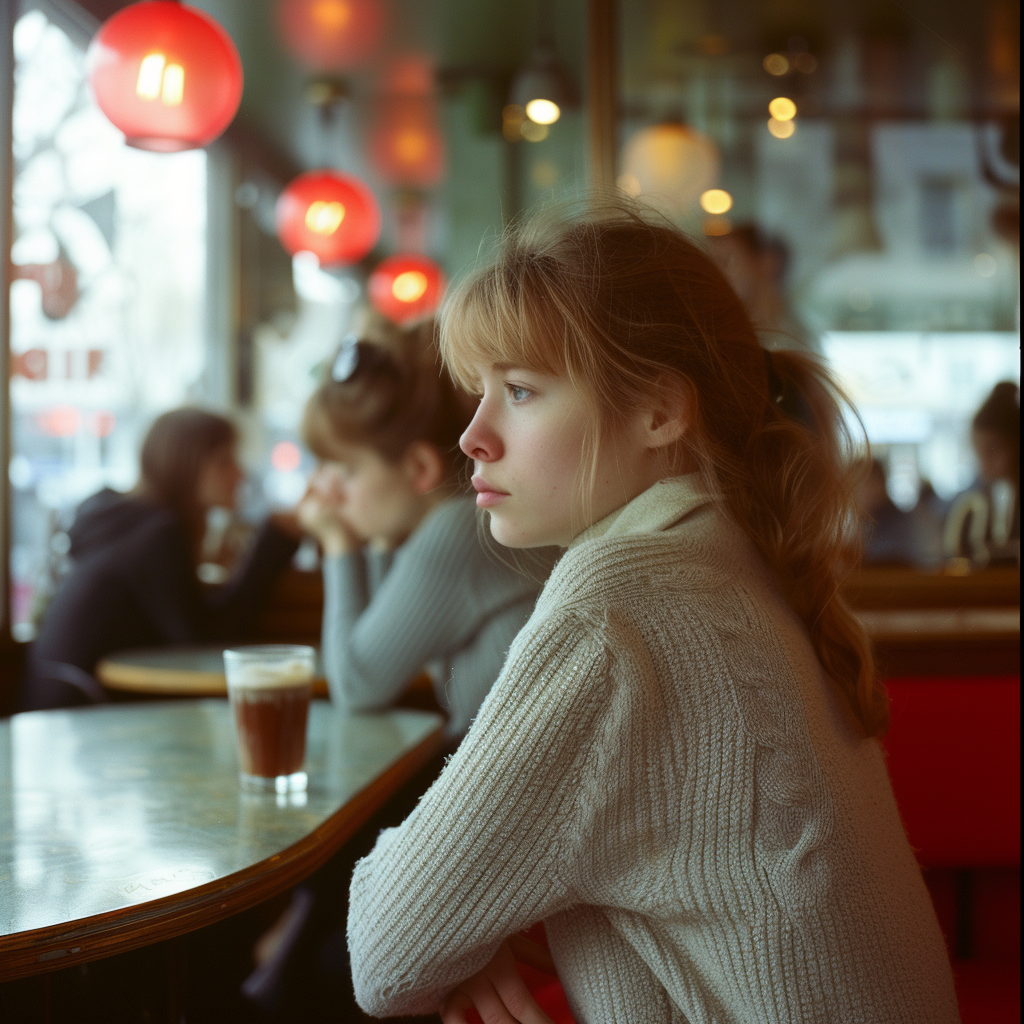
“Mãe, você nunca acreditaria”, Abby me disse quando nos encontramos para tomar café.

Um interior de uma cafeteria | Fonte: Midjourney
“O quê, querida?”, perguntei.
“As meninas foram morar com os namorados!”, ela disse, olhando o menu.
“De jeito nenhum!”, exclamei, imaginando como aqueles quatro iriam sobreviver sozinhos.

Uma garota sentada em uma cafeteria | Fonte: Midjourney
“Sim! Dani esbarrou com Tess no mercado outro dia e viu as quatro tentando fazer compras. Ela disse que Rachel e Tess pareciam exaustas e além de irritadas.”
“Bem feito para eles”, eu disse, adicionando uma colher de açúcar no meu café. “Eles precisavam provar o próprio remédio. Aqueles garotos provavelmente estão fazendo uma confusão em casa. E aquelas garotas estão finalmente abrindo os olhos para a realidade da situação.”

Um close-up de uma xícara de café | Fonte: Midjourney
“Eu só queria que eles saíssem das nossas vidas, mãe”, disse Abby. “Já era hora.”
“E quanto à renovação do contrato de locação?”, perguntei. Abby ainda tinha dois semestres antes da formatura.
“Nós vamos fazer isso”, ela disse, comendo sua fatia de bolo. “Os primos gêmeos da Dani estão ficando com os outros dois quartos, e eu os conheci, então sei que todos nós seremos uma boa combinação!”

Duas mulheres sorridentes | Fonte: Midjourney
Nosso plano funcionou perfeitamente, ensinando a Rachel e Tess uma dura lição sobre respeito e contribuição. Foi um delicioso momento de vingança, colocando-as de volta em seu lugar.
Mas o mais importante é que as meninas finalmente puderam ter sua casa de volta e aproveitar em paz, livres das colegas de quarto arrogantes e desrespeitosas que tornaram suas vidas miseráveis.

Uma mulher mais velha sorridente | Fonte: Midjourney
O que você teria feito?
Se você gostou desta história, aqui vai outra para você |
Padrasto me entregou um recém-nascido para cuidar dele – Levei o maior susto da minha vida quando troquei a fralda do bebê
Quando o padrasto de Ellie aleatoriamente lhe dá um bebê recém-nascido para cuidar, ela não tem ideia de quem é o bebê ou de onde veio. Mas quando ela tem que trocar a fralda do bebê, Ellie encontra um nome e um endereço. Com o bebê a tiracolo, ela vai até o endereço para descobrir a verdade sobre a criança e seu padrasto.
Nunca imaginei que um cobertor pudesse revelar tanto, mas quando agarrei o tecido macio com um nome e endereço rabiscados na borda, meu mundo mergulhou em mais incerteza do que eu já havia experimentado antes.

Um pequeno pé sob um cobertor rosa | Fonte: Pexels
Até agora, minha vida tem sido uma série de surpresas — desde meu pai nos deixando quando eu tinha cerca de três anos até minha mãe se casar novamente com William, um homem de poucas palavras, mas de profunda gentileza que mudou minha vida.
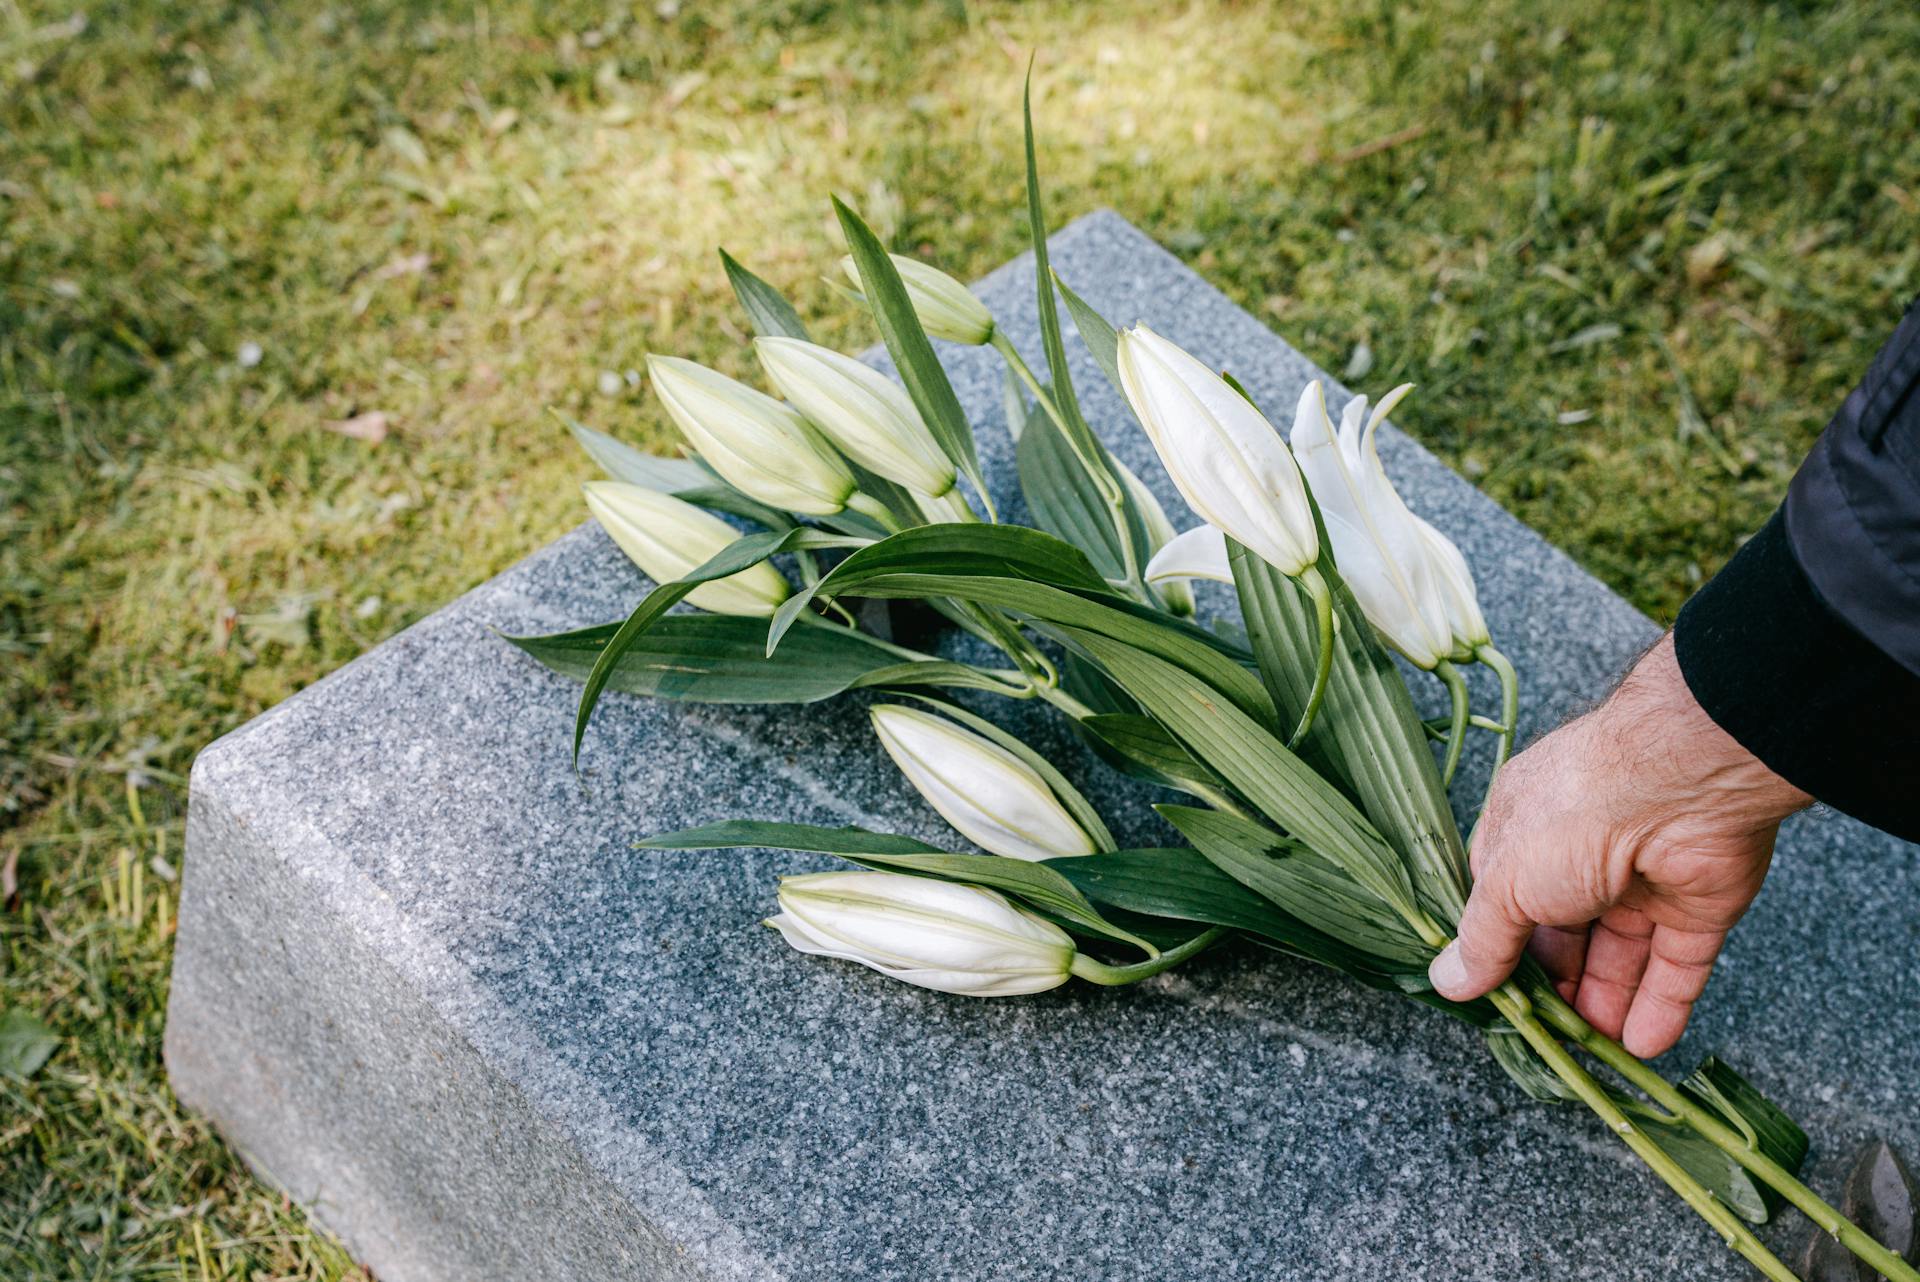
Quando minha mãe morreu, o vazio deixado para trás foi outra coisa. Eu estava no meio do ensino médio e ainda navegando pela minha dor.

Flores em um caixão | Fonte: Unsplash
Mas meu padrasto me comprou cadernos para anotar meus sentimentos e sentou-se comigo em silêncio enquanto ouvíamos músicas que ambos amávamos.
Com isso, nós dois nos curamos.

Cadernos e canetas | Fonte: Pexels
“Iremos ao túmulo da mamãe toda semana, Ellie”, ele me prometeu um dia, enquanto comíamos macarrão na sala de estar enquanto assistíamos TV.
“Eu não tinha muito antes de conhecer sua mãe, mas então eu ganhei você, e tudo mudou. Eu me tornei pai.”
Flores em um túmulo | Fonte: Pexels
Eu sorri para ele. Lembrei-me dos primeiros dias quando William se mudou, suas caixas enfileiradas pela casa enquanto minha mãe tentava abrir espaço para ele — misturando todas as nossas coisas em uma grande família.
Mas era feriado antes de eu me preparar para ir para a faculdade, e meu padrasto entrou em casa, me entregando um recém-nascido sem nenhuma explicação. Ele colocou o bebê em meus braços.

Um homem carregando uma caixa | Fonte: Pexels
“Ellie”, ele disse, franzindo profundamente as sobrancelhas enquanto se sentava no sofá, com a cabeça entre as mãos.
“Você pode cuidar dela por apenas alguns dias?”, ele perguntou em seu tom reservado de sempre, evitando meu olhar enquanto se preparava para sair para o trabalho novamente.
“Espere!”, gritei, completamente confuso sobre o que estava acontecendo.
Este trabalho é inspirado em eventos e pessoas reais, mas foi ficcionalizado para fins criativos. Nomes, personagens e detalhes foram alterados para proteger a privacidade e melhorar a narrativa. Qualquer semelhança com pessoas reais, vivas ou mortas, ou eventos reais é mera coincidência e não intencional do autor.
O autor e a editora não fazem nenhuma reivindicação quanto à precisão dos eventos ou à representação dos personagens e não são responsáveis por nenhuma interpretação errônea. Esta história é fornecida “como está”, e quaisquer opiniões expressas são as dos personagens e não refletem as opiniões do autor ou da editora.


Leave a Reply