On October 1, Jimmy Carter celebrated a major milestone, becoming the first U.S. president to reach 100 years old. While his family honored this remarkable moment, his grandson shared that Carter is now “very limited in what he can do,” reflecting on the final stages of his life’s journey.
Friends and family gathered in Plains, Georgia, Carter’s hometown, to celebrate his birthday, marking the first one without his wife Rosalynn. President Joe Biden sent a heartfelt message, acknowledging the bittersweet occasion, reminding Carter that even though Rosalynn passed away, she remains with him in spirit.
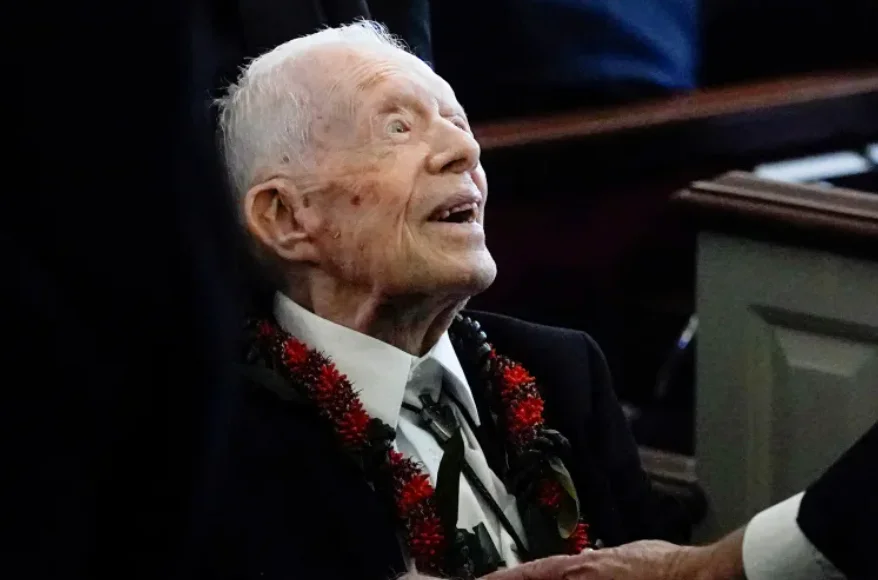
The milestone celebration took place at the home Carter and Rosalynn built in the 1960s, where Carter has been in hospice care. His grandson Jason shared that this home has always provided Carter with the most comfort and support, and there is no other place where he’d want to spend these final moments.
Jason also spoke about the difficulty his grandad has faced since Rosalynn’s death, after 77 years of marriage, noting that no one can fully understand what Carter is going through. He emphasized the importance of accepting that this stage of life is deeply spiritual and beyond full comprehension.
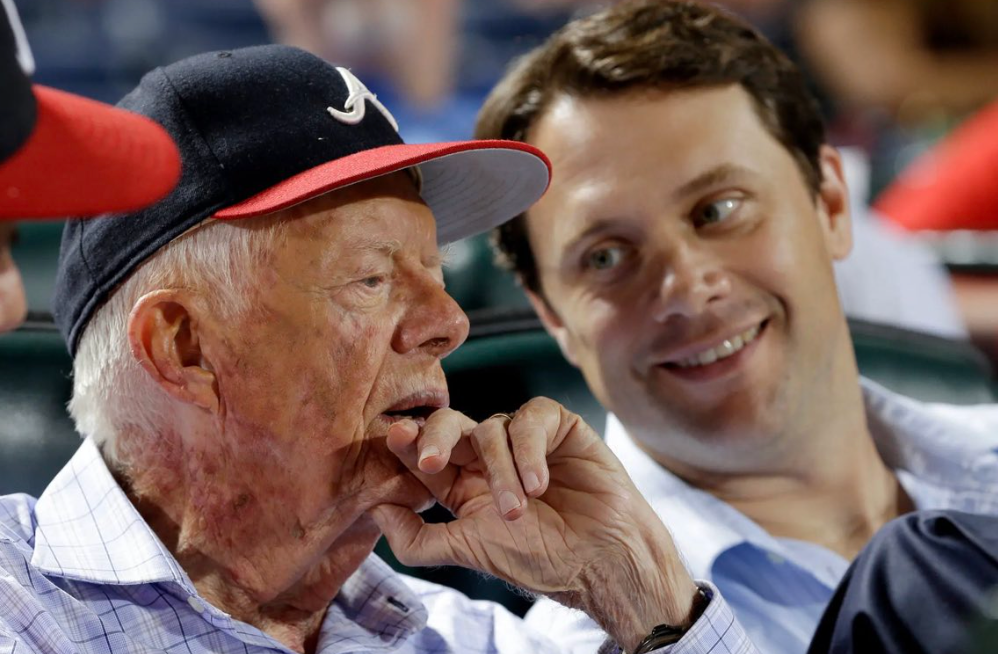
At the birthday celebration, Carter’s son Chip and other family members enjoyed cupcakes on the lawn while World War II planes flew overhead in honor of the former president. Chip mentioned that Carter is still engaged and intends to live long enough to vote in the upcoming election, showing his continued dedication to democracy.
Jason reflected on the significance of Carter’s 100 years, highlighting the immense good he’s done throughout his life. He also shared how the last 19 months, during which Carter has been in hospice, have been an opportunity for the family and the world to reflect on his legacy.
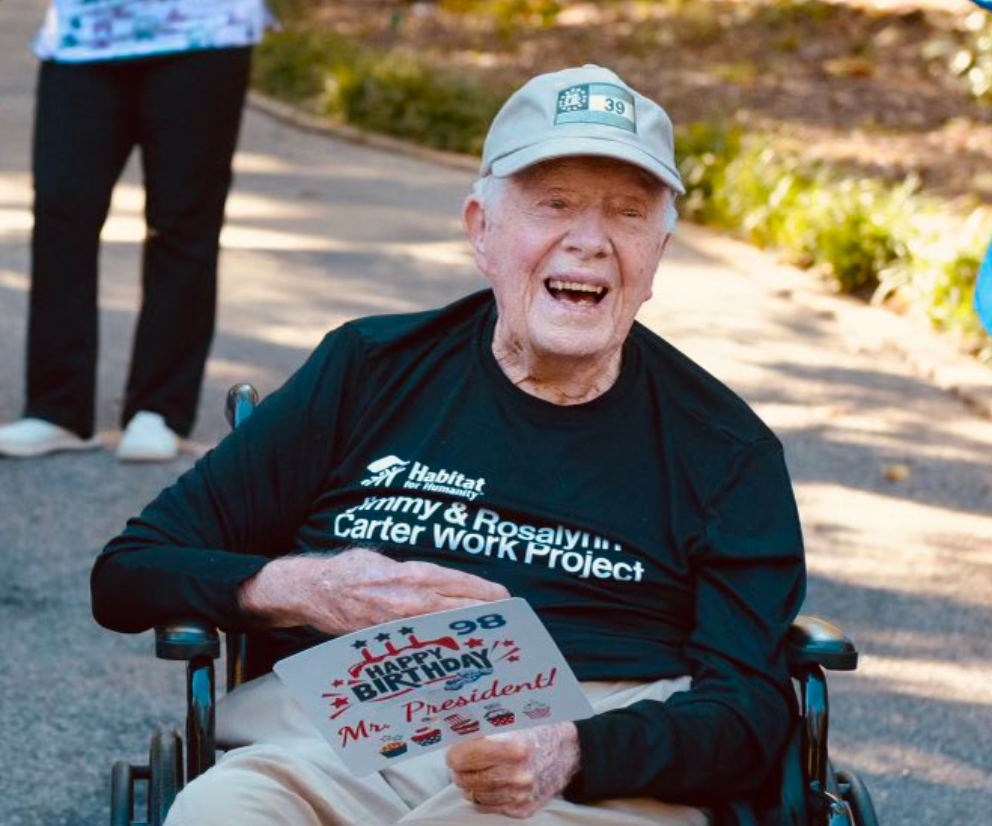
While physically limited and rarely leaving home, Carter remains emotionally engaged, still laughing and enjoying meaningful experiences in these final stages of his journey. Jason expressed that this time has been deeply significant for his grandfather, a unique chapter of life that can only be experienced at the very end.
The girls visit their dad’s grave to “show” him their new dresses as he had wished, only to find two boxes with their names on them
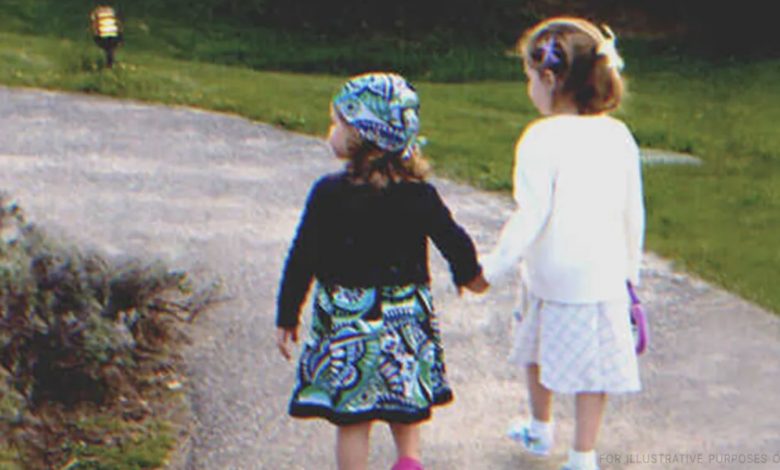
To honor their father’s dying wish, two little girls, Isla, 6, and Madison, 8, visit his grave on his birthday, dressed in beautiful outfits just for him. Near his gravestone, they find two wrapped boxes with their names on them.
Since Brian’s passing, Isla and Madison had been quieter, missing the fun moments they shared with him. Linda, their mother, struggled with grief, finding it difficult to move on. Brian’s last words to his daughters were a wish to see them dressed in their finest on his birthday, and, though hesitant, Linda took them shopping so they could fulfill his request.
On Brian’s birthday, the girls, holding hands, walk to his grave with Linda trailing behind. At the grave, they find gifts labeled with their names, each containing a pair of Mary Janes and a heartfelt letter from Brian. In the letter, he encourages them to be happy, mischievous, and to remember he is always with them.
As the girls read the letter, Linda finally feels peace, comforted by her daughters’ love and resilience. Through their visit, the family feels Brian’s presence, realizing that love and cherished memories keep them connected, no matter the distance.


Leave a Reply